During a granite factory visit, every stage—from quarry block selection to cutting, polishing, dimensional inspection, and final dispatch—should be carefully reviewed. Early inspection helps identify shade variations, surface defects, thickness deviations, and workmanship issues, reducing the risk of costly replacements and project delays.
This guide explains the complete granite sample approval process followed in manufacturing facilities. Whether you are procuring granite for residential, commercial, or infrastructure projects, these quality control steps will help you confidently approve the material before dispatch.
In this guide, you will learn:
- How granite blocks are selected from the quarry.
- How to compare production slabs with the approved sample.
- Quality checks during cutting and polishing.
- Surface defect inspection after drying.
- Thickness and dimensional verification.
- Final approval, packing, and dispatch procedures.
Step-by-Step Sample Selection & Approval Guide
Step 1: Quarry Block Selection
Objective: Ensure the raw granite block matches the approved sample.
Inspection Checklist
- ✔ Verify granite type and colour.
- ✔ Check grain pattern consistency.
- ✔ Inspect for visible cracks or fractures.
- ✔ Ensure there are no black patches or mineral defects.
- ✔ Confirm block dimensions are adequate for required slab sizes.
- ✔ Record quarry source and block number.
QA Tip
Always approve the quarry block before cutting begins. Any variation at this stage will affect all finished slabs.

Step 2: Match with the Approved Sample
Objective: Ensure production matches the client’s approved sample.
Before proceeding with production approval:
- ✔ Compare the slab with the client-approved sample.
- ✔ Verify colour consistency.
- ✔ Check grain pattern and vein direction.
- ✔ Confirm surface texture and finish.
- ✔ Ensure there is no unacceptable shade variation.
- ✔ Obtain client/consultant approval before continuing.
QA Tip: The approved sample should always be treated as the master reference. Every slab produced must match the approved sample in appearance and finish.
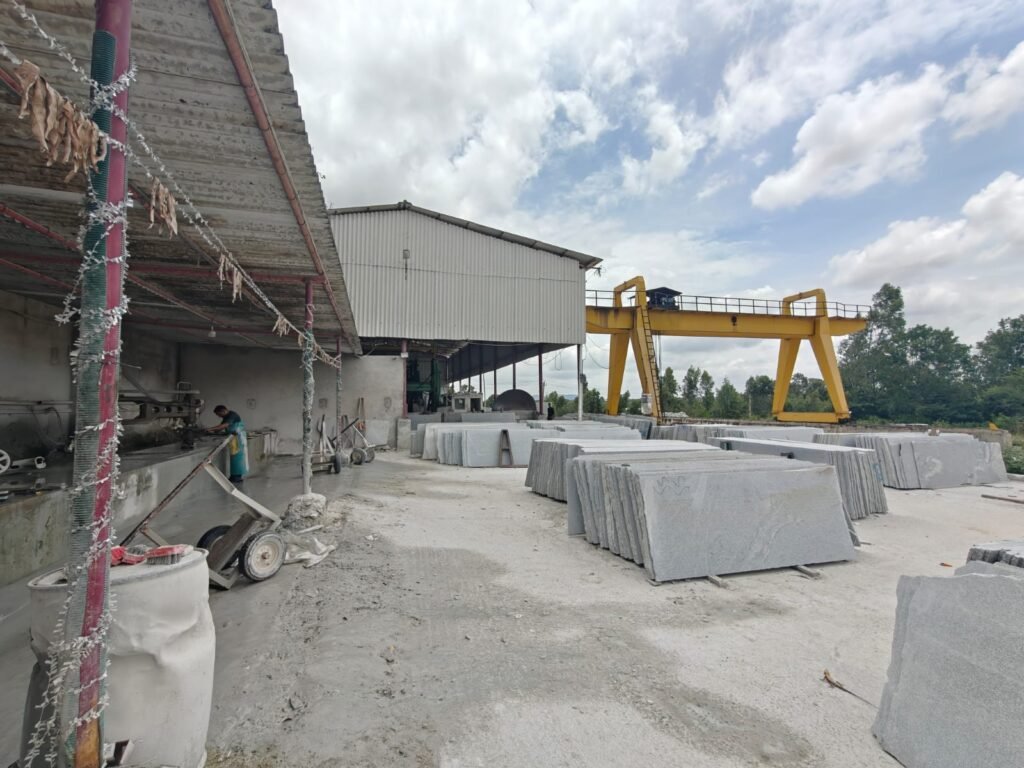
Step 2: Block Cutting (As per Client Requirement)
The selected granite block is shifted to the factory and mounted on the gang saw or block cutter.
During cutting:
- Slabs are cut according to approved thickness.
- Common thicknesses:
- 18 mm
- 20 mm
- 30 mm
- Custom sizes
Inspection Points
✔ Cutting thickness matches purchase order
✔ Straight and uniform cuts
✔ No corner breakage
✔ Minimal blade marks
✔ Slabs are properly numbered
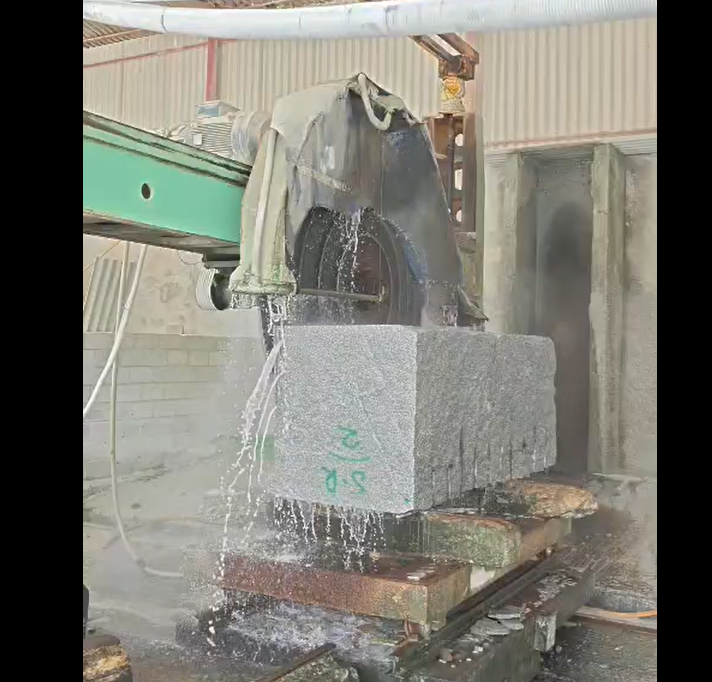
Step 3: Surface Polishing
After cutting, the slabs move through polishing machines.
The objective is to achieve:
- High gloss
- Uniform finish
- Smooth surface
Check During Polishing
✔ Uniform gloss across entire slab
✔ No dull patches
✔ No polishing scratches
✔ Natural colour enhancement
✔ No resin overflow
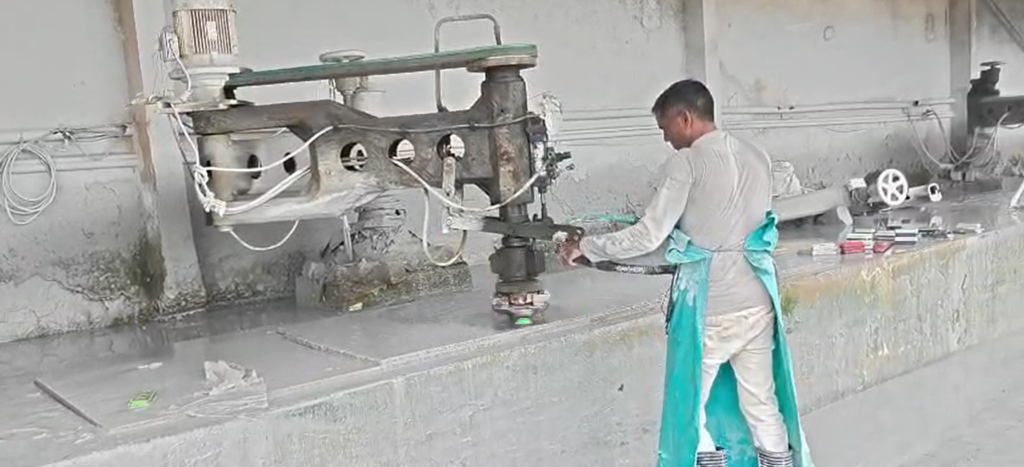
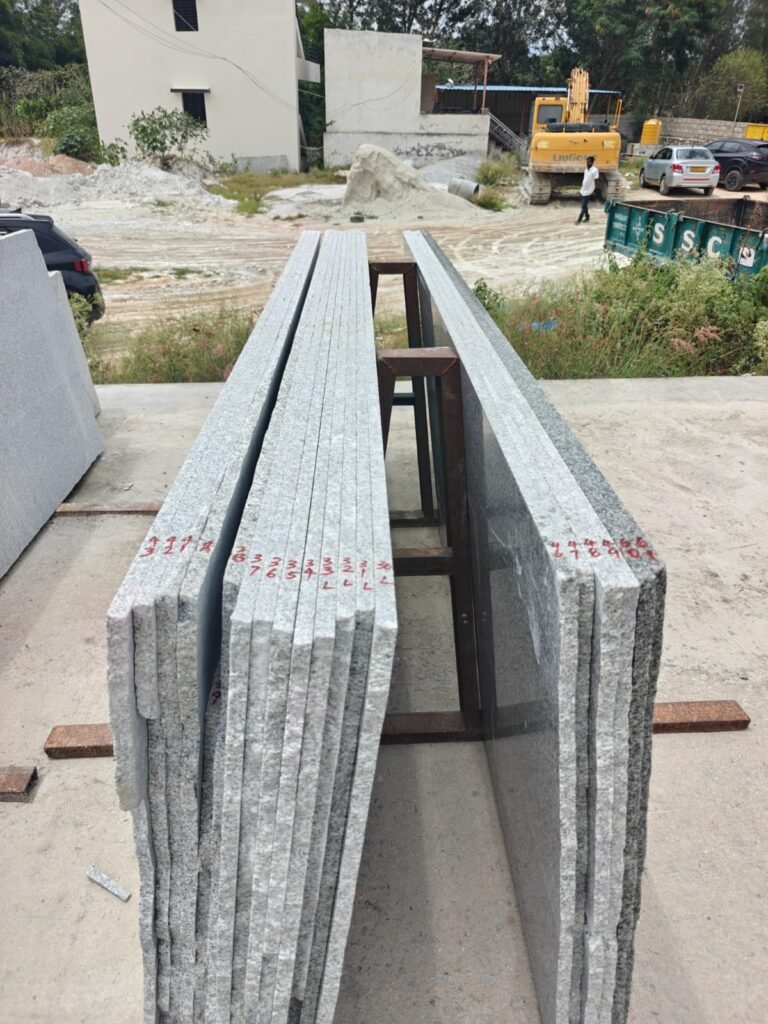
Step 4: Drying & Final Surface Inspection
After polishing, slabs are dried naturally or using drying equipment.
Dry inspection is important because water can hide defects.
Check for
✔ Shade variation
✔ Hairline cracks
✔ Pin holes
✔ Surface chips
✔ Colour consistency
✔ Edge damages
✔ Resin filling quality
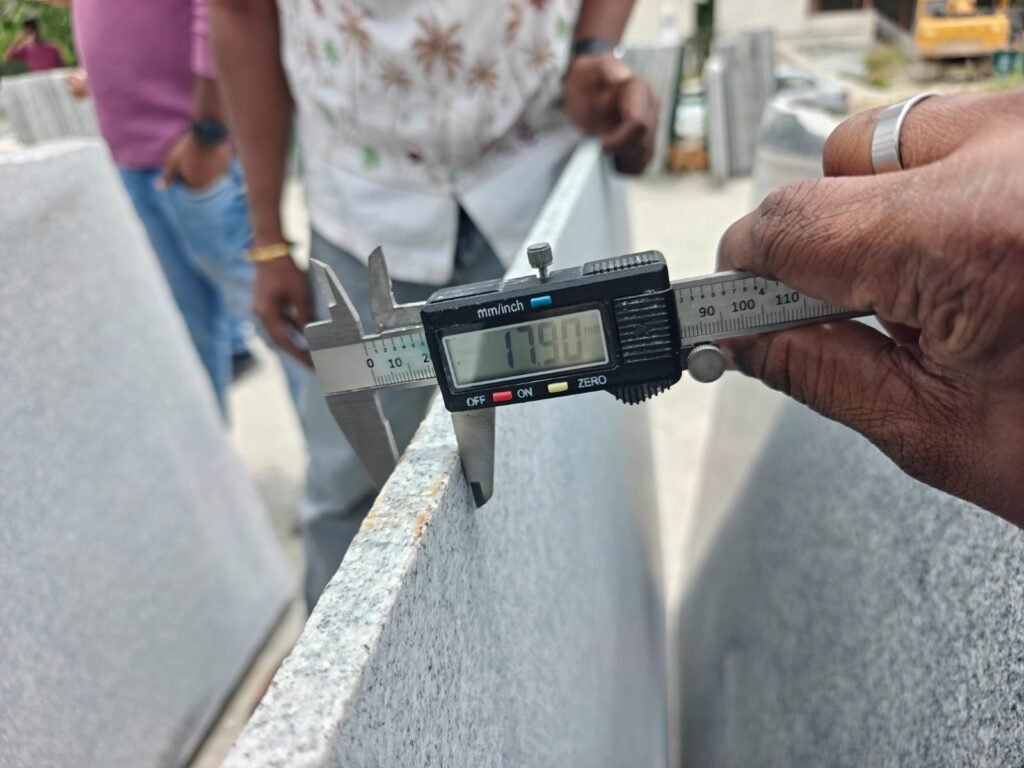
Step 5: Dimensional Measurement & Final Approval
Every approved slab should be measured before loading.
Measure
Thickness
Use a Digital Vernier Caliper.
Measure at:
- Four corners
- Centre
Typical tolerance:
±1 mm (or as specified in the purchase order)
Length
Measure using a steel tape.
Width
Measure at multiple locations.
Squareness
Check diagonal measurements.
Flatness
Place a straight edge across the slab.
No excessive warping should be observed.
Edge Finish
Inspect all four edges.
They should be:
- Smooth
- Chip-free
- Properly finished
Final Approval Checklist
| Inspection Item | Status |
|---|---|
| Quarry block approved | □ |
| Colour verified | □ |
| Grain pattern matched | □ |
| No cracks | □ |
| Thickness checked | □ |
| Length checked | □ |
| Width checked | □ |
| Surface polish approved | □ |
| Shade uniformity checked | □ |
| Edge quality approved | □ |
| Flatness verified | □ |
| Slab numbering completed | □ |
| Packing approved | □ |
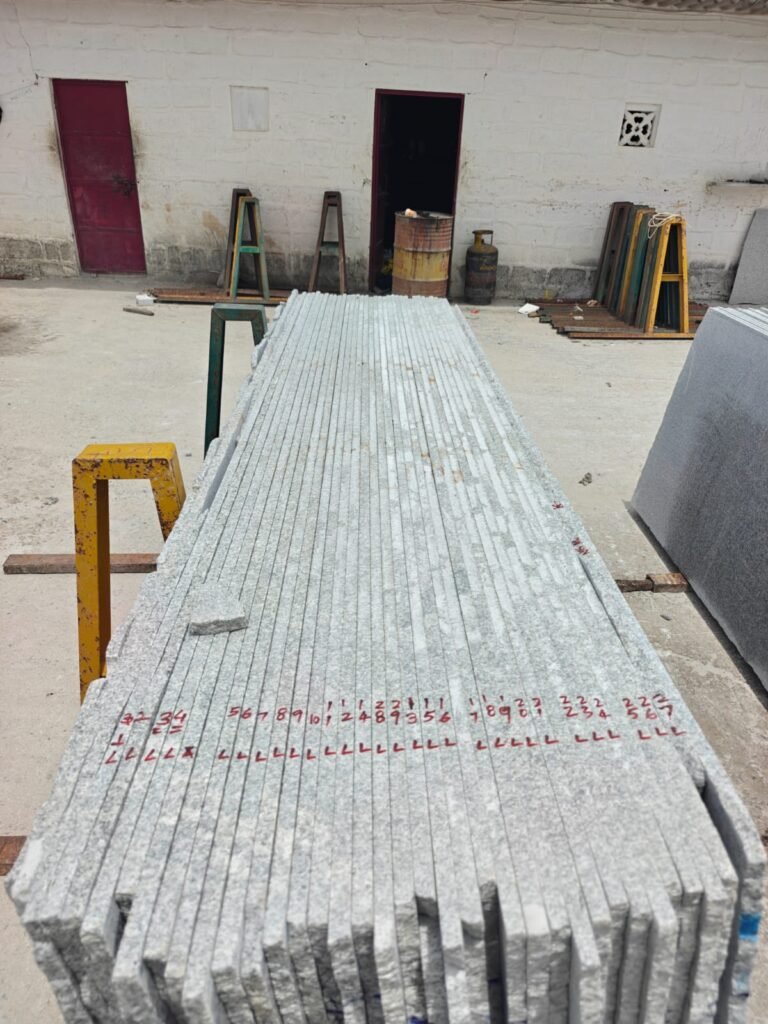
Loading & Dispatch
Once all slabs are approved:
- Clean each slab thoroughly.
- Mark slab numbers according to the layout.
- Protect polished faces with plastic sheets or foam.
- Secure slabs in A-frame racks.
- Use wooden spacers between slabs.
- Strap the bundle securely.
- Prepare the dispatch inspection report.
Frequently Asked Questions (FAQs)
1. Why is a granite factory visit important before material approval?
A granite factory visit helps verify that the slabs match the approved sample in terms of colour, grain pattern, finish, thickness, and overall quality before dispatch. It minimizes the risk of receiving defective or mismatched material at the project site.
2. How do you approve a granite sample during a factory visit?
Compare the production slab with the client-approved sample under proper lighting. Check for colour consistency, grain pattern, surface finish, polish, and texture. Approve only those slabs that comply with the project specifications and approved sample.
3. What quality checks should be performed during a granite factory inspection?
Key quality checks include:
- Quarry block verification
- Sample matching
- Surface polish and finish
- Shade consistency
- Thickness, length, and width measurements
- Edge quality
- Flatness
- Inspection for cracks, chips, scratches, and other defects
4. How is granite slab thickness measured?
Granite slab thickness is measured using a calibrated digital vernier caliper at multiple points, including the corners and centre of the slab, to ensure it meets the specified thickness and tolerance requirements.
5. When should granite be approved for dispatch?
Granite should only be approved for dispatch after it has successfully passed all visual inspections, dimensional measurements, quality checks, and matches the approved sample. Proper packing and slab identification should also be verified before transportation.