
Podium Waterproofing is one of the most important activities in construction because the slab is continuously exposed to water, moisture and seepage risks. A properly planned waterproofing system helps protect the concrete structure, finishes and services from leakage and water-related deterioration.
This article explains the Procedure for podium slab waterproofing treatment, including surface preparation, crack and joint treatment, core packing, ponding tests, primer application, waterproofing coating, geotextile protection and final screed.
- Scope of Podium Slab Waterproofing
- Reference Documents
- Tools and Equipment Required
- Storage of Waterproofing Materials
- Procedure
- Preliminary Checks Before Waterproofing:
- Surface Preparation:
- Providing Coving or Fillet
- Crack Treatment and Construction Joint Treatment
- Core Treatment and Pipe/Bore Packing
- Bare Slab Ponding Test
- Primer Application
- PU Coat Application
- Providing Separation layer (Geo Textile 120 GSM)
- Protection Screed
- Cement Plaster for Up stand Wall coating
- Practical Insights
- FAQS
- ABOUT AUTHOR
Scope of Podium Slab Waterproofing
- The sequence and procedures to be followed for waterproofing and protection works. The objective is to ensure that waterproofing activities are executed according to the approved project specifications, drawings, inspection requirements and quality-control procedures.
Reference Documents
- Before starting waterproofing work, the following approved documents should be available at site:
- Approved methodology
- Approved checklist
- Technical Data Sheet (TDS)
- Material Safety Data Sheet (MSDS)
- Approved drawings
- Inspection and Test Plan (ITP)
Tools and Equipment Required
- Angle grinder
- Floor grinder
- Measuring tape
- Wire brush
- Chisel
- Hammer
- Drill machine
- Marker
- Scraper and cleaning tools
- Slow-speed mixer
- Brush
- Roller
- Grouting brush
- Measuring equipment
- Wet-film thickness
- gauge
- Cutting tools
- Barricading and safety equipment
Storage of Waterproofing Materials
Proper storage is essential to maintain the quality and performance of waterproofing materials.
The materials should be:
- Stored in a dry and shaded area.
- Protected from direct sunlight.
- Kept under suitable temperature conditions as recommended by the manufacturer.
- Arranged according to the FIFO (First In, First Out) principle.
- Checked for expiry dates before use.
Liquid materials should receive particular attention during storage because improper storage can affect their application and performance.
Procedure
Preliminary Checks Before Waterproofing:
Before beginning waterproofing, all relevant construction activities should be completed.
The following checks should be carried out:
- Ensure Mechanical, Electrical and Plumbing (MEP) works are completed or appropriate clearances are available.
- Confirm completion of RCC repair works and up stands.
- Check the substrate for defects.
- Ensure exposed reinforcement is properly treated and repaired.
- Confirm that the area has been formally handed over for waterproofing.
Surface Preparation:
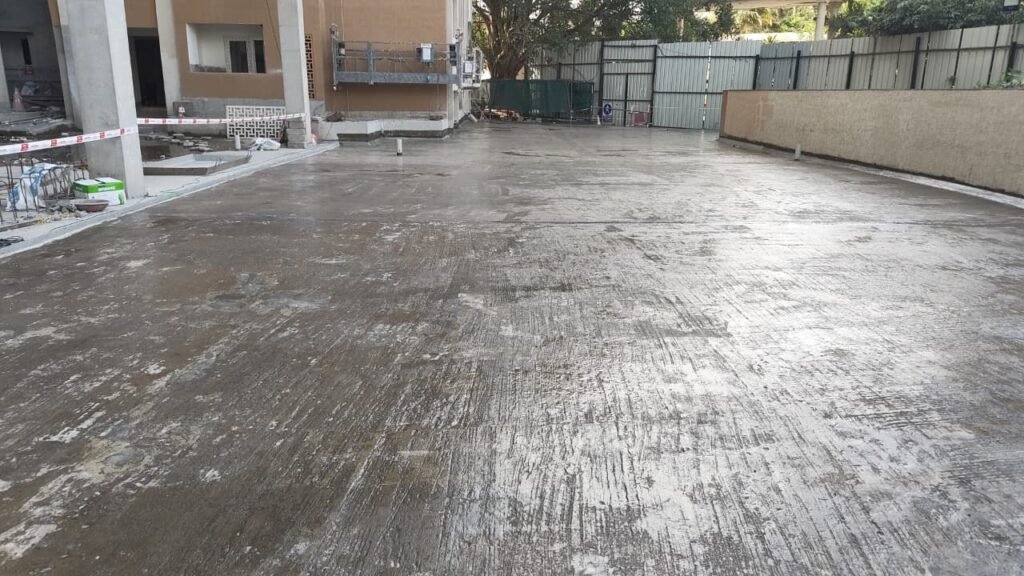
The concrete surface should be cleaned using methods such as:
- Wire brushing
- Chiseling
- Light grinding where required
- Washing and cleaning
Laitance should be removed from the surface.
The substrate must be free from:
- Loose concrete
- Loose aggregate
- Dust
- Sharp projections
- Other contaminants that could affect adhesion
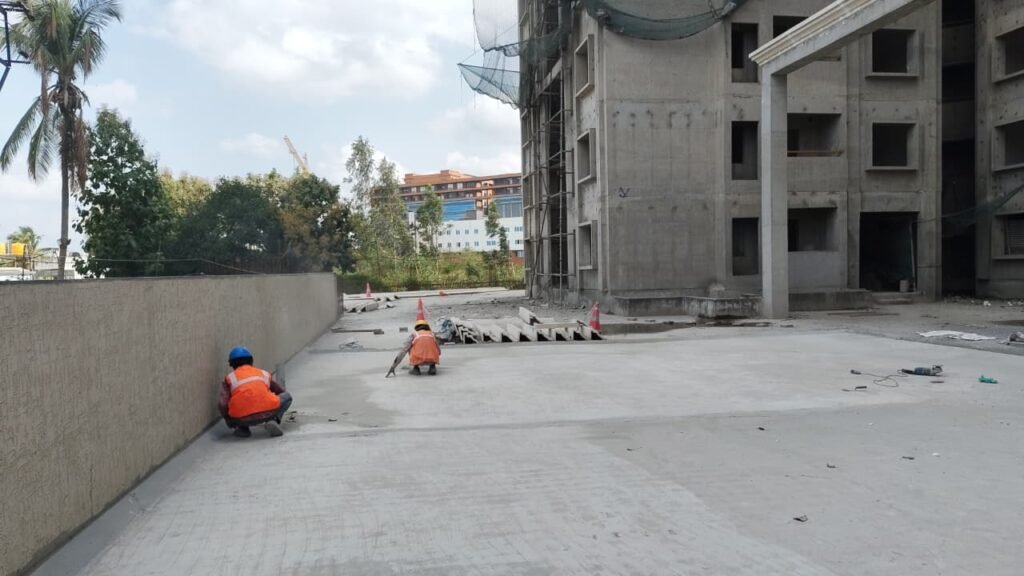
Providing Coving or Fillet
At the wall-to-floor junction, a suitable re-profiling/coving should be provided to eliminate sharp corners and improve waterproofing continuity. The specifies a minimum 50 mm × 50 mm coving using cement-sand mortar.
The polymer-modified mortar is prepared using cement, sand and liquid polymer admixture according to the specified proportion.
The coving surface should be properly finished, and the bonding agent should be applied between the existing concrete and the newly formed chamfer.
Crack Treatment and Construction Joint Treatment
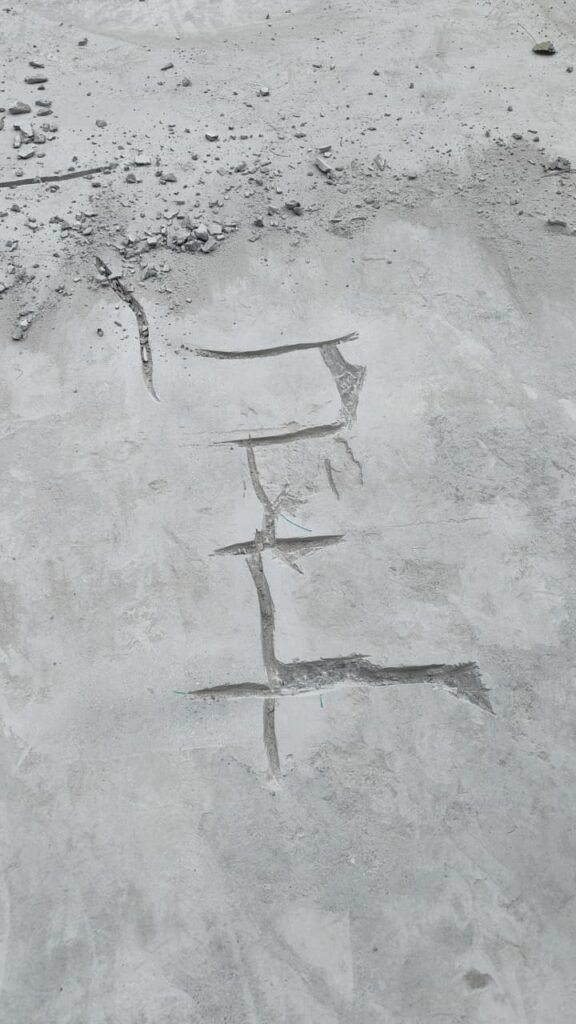
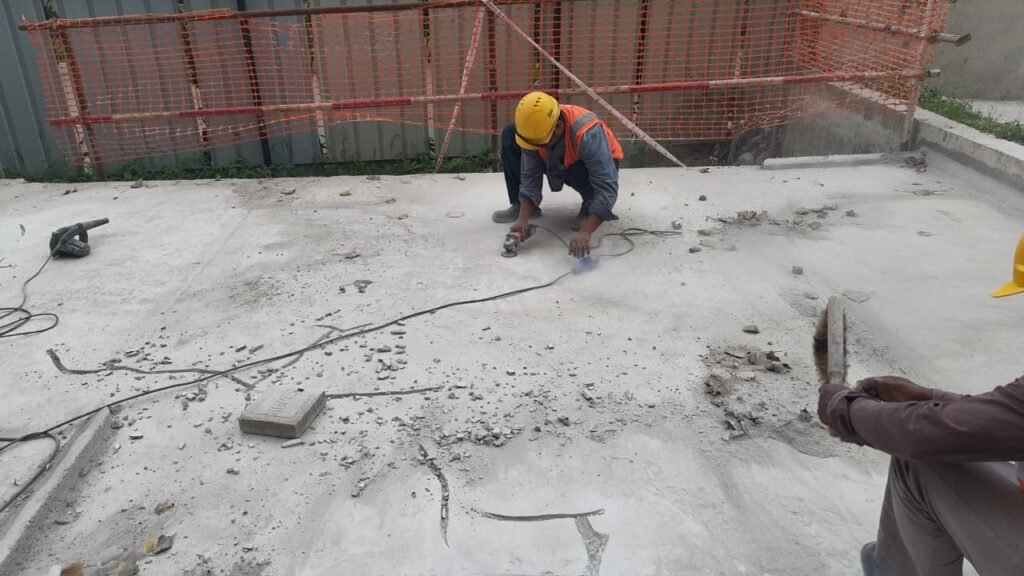
- Any concrete defects will be repaired and cracks if any will be opened in V shape of size 10mm wide &
10mm depth and repaired by applying bonding agent liquid polymer admixture and Cement (1:1.5) and then filling the groove with non-shrink grout. - Construction joints will be opened in a V shape by making a groove of 25mm wide and 25mm deep.
- This grove will be treated by applying bonding agent liquid polymer admixture and Cement (1:1.5) and then filling the joint with non-shrink grout using.
Core Treatment and Pipe/Bore Packing
- Ensure MEP clearance is available before commencing work.
- Clean the Exterior surface of plumbing pipe (PVC) pieces to be installed in horizontal core shall be treated using liquid polymer admixture and Cement with proportion of 1:1.5 by Volume. When this is in wet condition, immediately granular sand shall be sprinkled on it.
- Assuming Slab thickness of 125mm, insert a 25mm backer rod into the core cut between the pipe and the floor slab and level it at 90mm depth from the top side of the core cut, Ensure the backer rod is securely in place and aligned with the bottom surface of the slab.
- Clean the Core-out area and apply a bonding agent liquid polymer admixture and Cement with proportion of 1:1.5 by volume and pour the grout into the gap using a non-shrink grout to fill the space between the pipe and concrete slab.
- After 24 hrs, remove the backer rod from the bottom side of the core cut & clean the area and apply a bonding agent liquid polymer admixture, Pack the gap with polymer-modified mortar to ensure a durable and watertight seal.
Bare Slab Ponding Test
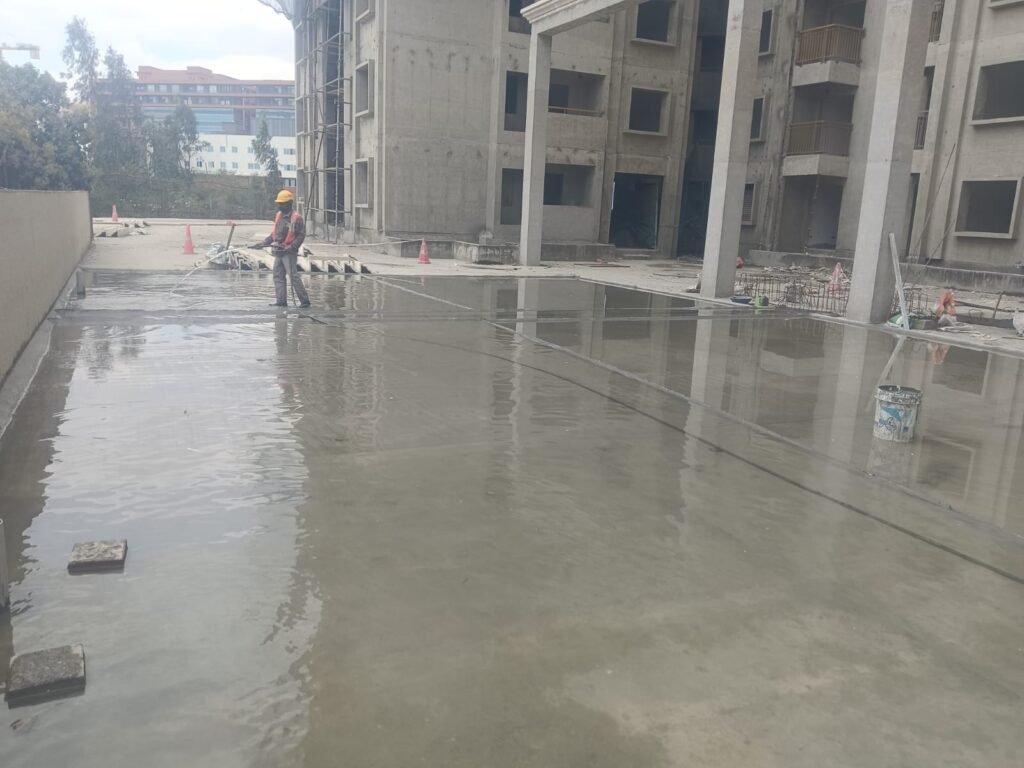
- Minimum 50mm water ponding shall be done for 48 hours to identify the seepage’s. If any leakages occur after bare slab ponding, shall be require pressure grouting to arrest leakages/ seepage’s.
- Do cementitious pressure grouting at leakage observed areas by drilling 12mm Dia hole and fixing the GI Nozzles of 10mm with quick setting cement add Additive@250 gms / bag of cement, maintain w/o ratio of 0.5 while grouting.
- Use 40 PSI hand pumping machine. Grout into voids till rejection, Cut the PVC pipes after 24 hours and pack with repair mortar.
- Grouting points will depend on severity of leakages.
- The treated area will be locally tested by re-ponding particular area only.
- Before starting application of primer, dust shall be removed using air blower and ensure Slab moisture content is less than 5%.
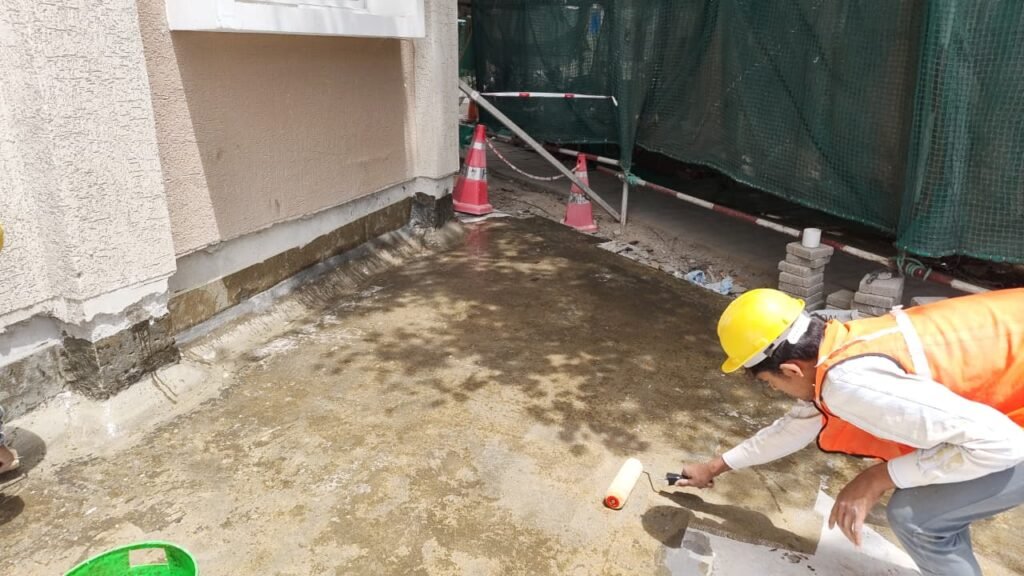
Primer Application
- Primer is a three-component material comes in pre-weighted pack of 8kg.
- Pour the contents of base and hardener into 5 litres mixing pail and mix using a high-speed mixing stirrer for 20 seconds. Add the special additive bag and continue mixing for a further 30 seconds or until a mix becomes lump free and homogeneous.
- Working life of primer is approximately 10-15 minutes. Avoid mixing excessive material which will not be used within 10 minutes from mixing.
- Pour the mixed material Into an industrial paint tray and apply by roller taking care to avoid ponding.
- Apply the material around the edges of area and into grooves by brush to ensure even application, Surface shall be primed by using Primer @ 0.2-0.4 Kg/Sq.m for maximum absorption, adhesion to substrate and to block the surface pores. Apply one coat of Primer by brush/ Roller.
- Allow the primer to touch dry for approximately 30 minutes.
- Apply the main waterproofing coating when the primer is in tacky condition.
PU Coat Application
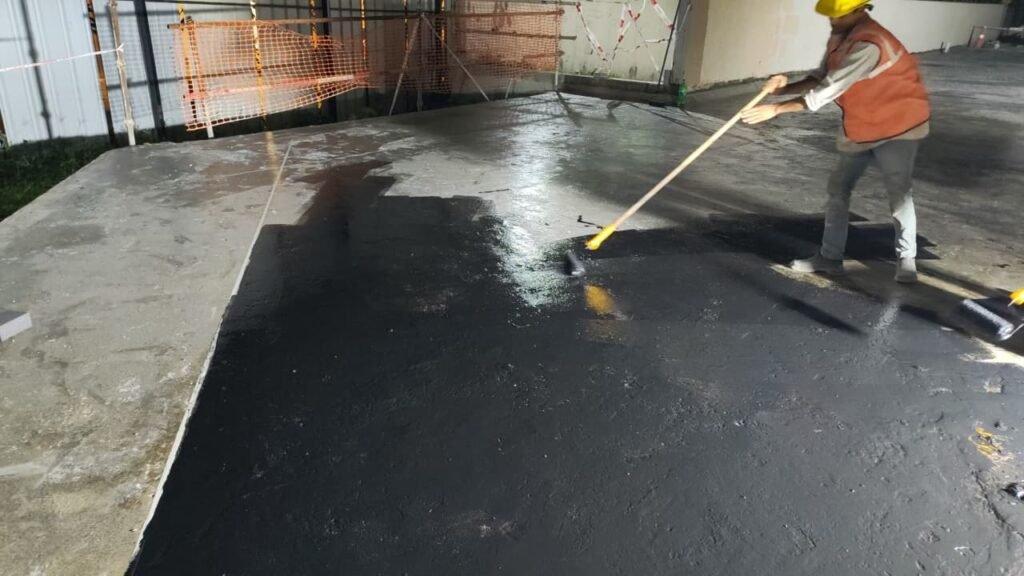
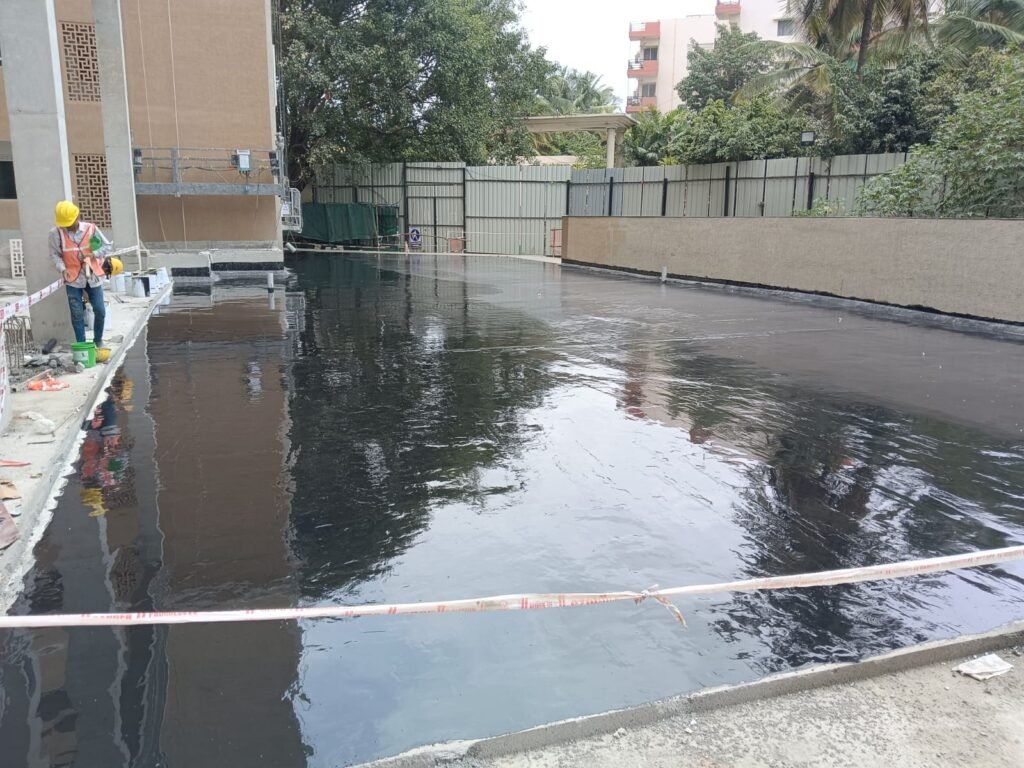
- AquaArm SPU-SPL is a single component liquid, which shall be applied evenly in two coats @2.4Kg/Sqm, to achieve average 1.5mm DFT @ 2 coats. (WFT checking shall be done randomly) It shall be applied when the primer is in tacky condition, Second coat shall be applied after sufficient hardening of first coat i.e. after 12 to 14 hours. First & Second coat shall be perpendicular to each other by using brush.
- Reinforcing the coating with 45gsm glass fibre mesh at all corners.
- 1st coat shall be applied at 1.2 Kg/Sqm to achieve 800 microns WFT.
- 2nd coat shall be again be applied at 1.2Kg/Sqm to achieve 800 microns WFT..
- Part portion of terrace waterproofing application to be ensure from PMC/CLIENT and necessary joint treatment shall be done for waterproofing coat minimum 100mm lapping required and ensure proper joint treatment as per attached shop drawing .The existing coating to be cleaned thoroughly for 100 mm overlap and then the application of to be continued to the new primed surface.
- The Coating shall be continued minimum upto 300mm above Floor Finished level & The coating shall be done minimum 30 mm inside the drainage pipe.
- For all vertical wall coating sprinkle the Quartz sand on second coat when second coat is still wet to facilitate mechanical key with forthcoming plaster.
- Allow the coating to air-cure for minimum 24 hrs and full curing requires 7 days.
Providing Separation layer (Geo Textile 120 GSM)
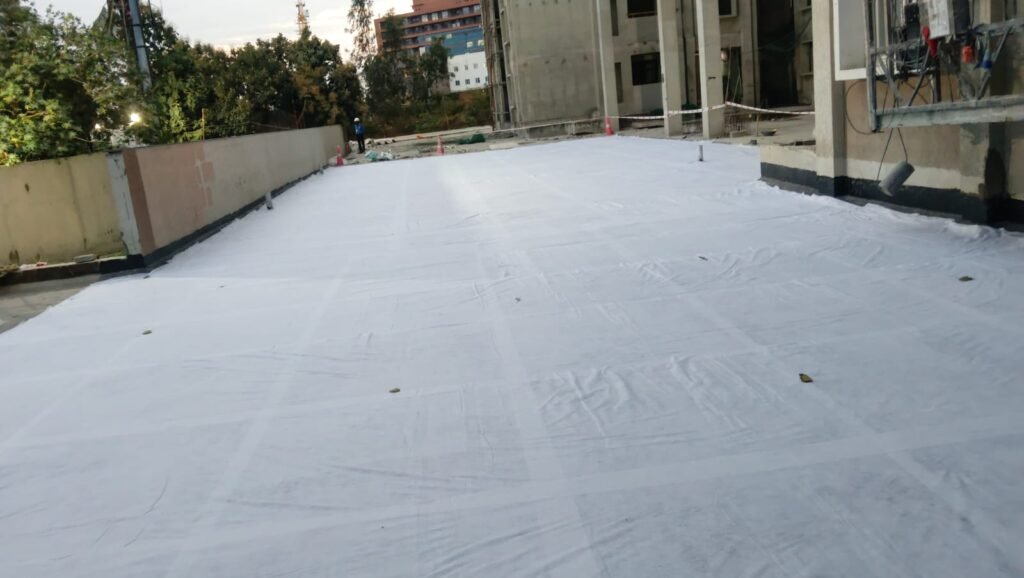
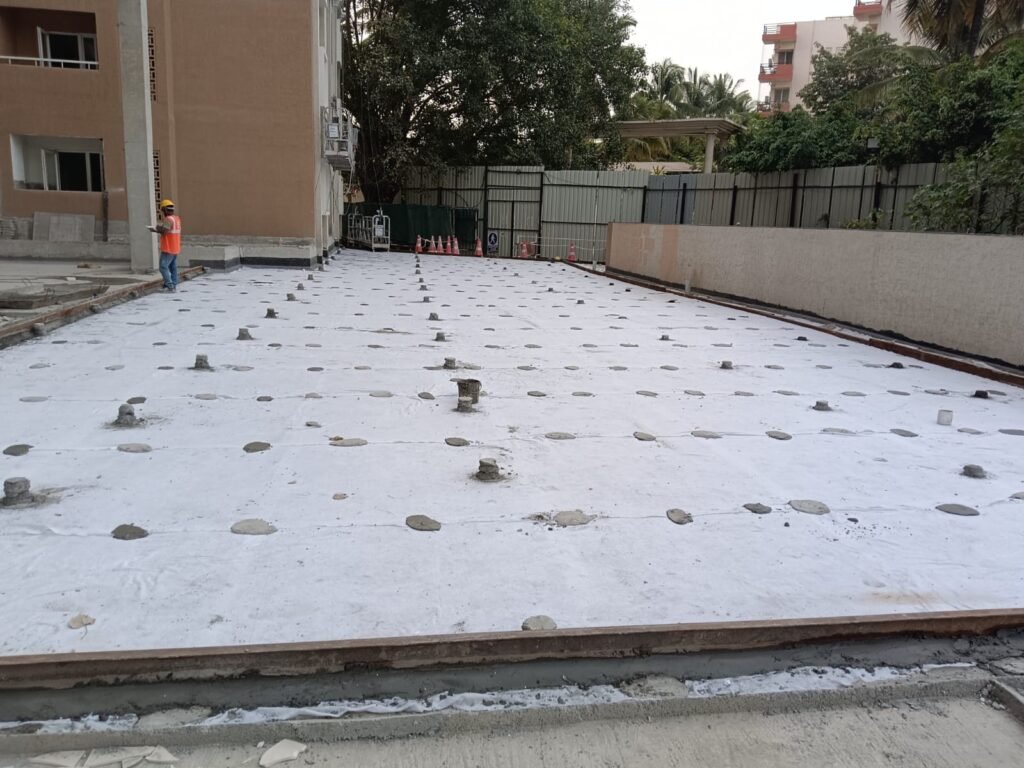
- Installing Geotextile (120 GSM) as a separator sheet between the waterproof membrane coating and forthcoming civil works. Overlapping of minimum 50 min shall be maintained between two sheets with spot bonding using cement slurry and ensure geotextile laid in staggered manner.
Protection Screed
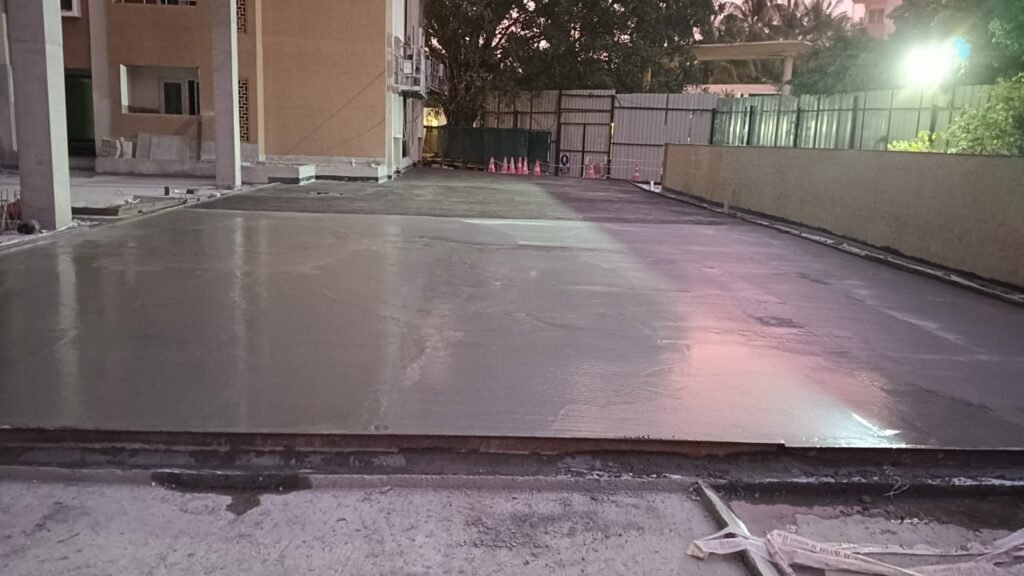
- After providing geotextile layer, a Concrete screed of Required thickness, Minimum 50mm thick screed shall be laid at the outlet point and an average thickness of 75mm screed to be provided.
- Shall be done using M20 grade concrete admixed with Integral waterproofing compound @150gm/bag of cement or equivalent as per manufacturers specifications,
- Broom finishing shall be done on topcoat having groove cutting of panel (6mmx10mm size at 5mx5m at intervals) and filling with weather-resistant sealant application Equivalent(to be done to avoid cracks.
- Slope of screed shall be maintained 1:100 minimum or as per drawing.
Cement Plaster for Up stand Wall coating
- Avg 15-20mm,up to min,300mm height Cement sand plaster shall be done on vertical walls using 1:4 (Cement: Sand) proportion admixed with Integral waterproofing compound @150gm/bag of cement or equivalent as per manufacture specification till the height of vertical coating and termination details should be as per attached drawing.
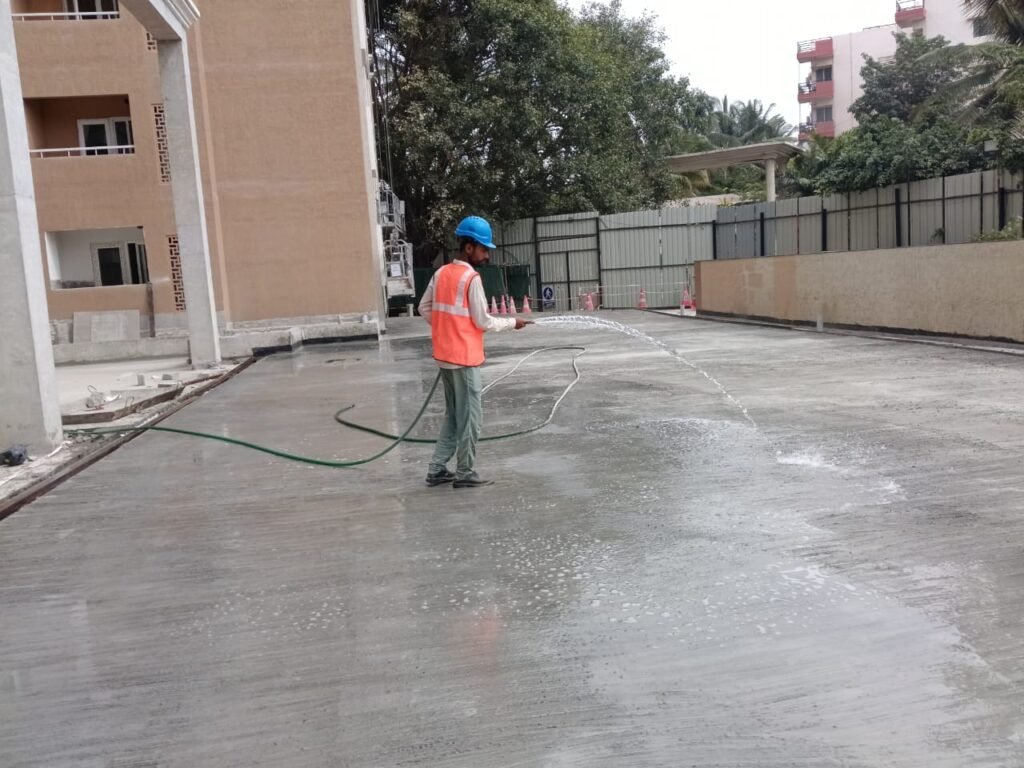
- Final water Ponding & Curing shall be done for 7 days minimum.
Practical Insights
Practical Site Insight: Never proceed with screeding based only on the drawing slope. First verify the actual site levels at the bull marks and confirm that the required drainage slope can be achieved toward the finalized saucer drain.
Practical Site Insight: In our project, fibre reinforcement was specified where the podium screed thickness exceeded 100 mm. However, this should always be verified against the approved project specification and method statement, as the requirement may vary from project to project.
Practical Site Insight: Do not treat the 72-hour period as a universal requirement. It should be followed where specified by the project specification, approved method statement, or waterproofing system requirements.